
DIY Guide to Painting a Classic Car

Transforming a classic car with a fresh coat of paint is one of the most rewarding projects for any automotive enthusiast. Painting not only enhances the vehicle’s aesthetic appeal but also protects it from rust and the elements. With the right techniques, anyone can achieve a professional-looking finish. This guide will walk you through the essential steps of painting your classic car, ensuring you achieve stunning results while celebrating the history and character of your vehicle.
Before you dive into the painting process, it’s crucial to understand the unique qualities that define a classic car. Each vehicle has its own story, and the paint color you choose can reflect that personality. Whether you prefer a vintage hue or a modern twist, selecting the right color is essential. In this guide, we’ll explore color selection, surface preparation, application techniques, and finishing touches that will help you bring your vision to life.
As you embark on this journey, remember that patience and attention to detail are key. Every step, from sanding the old paint to applying the final clear coat, contributes to the overall outcome. By following this DIY guide, you’ll not only enhance the beauty of your classic car but also gain valuable skills in automotive painting that can be applied to future projects.
Choosing the Right Type of Paint for Your Classic Car
Selecting the appropriate paint for your classic car is a crucial step in the DIY painting process. The right paint not only enhances the car’s aesthetic but also protects it from environmental damage. Here are the primary types of paint to consider:
- Acrylic Enamel: Known for its glossy finish and ease of application, acrylic enamel is a popular choice for classic cars. It dries quickly and provides a durable coat that resists chipping.
- Acrylic Urethane: This type of paint offers superior durability and chemical resistance. It is an excellent choice for those looking for a long-lasting shine and is suitable for cars frequently exposed to the elements.
- Polyurethane Paint: Polyurethane paint delivers a tough finish that is UV resistant. This type is ideal for classic car enthusiasts who want to maintain a pristine look over time.
- Single-Stage Paint: Combining color and clear coat in one application, single-stage paint is easier for DIY projects. It is an excellent option for those who prefer a streamlined process without multiple steps.
- Base Coat/Clear Coat: This two-step system involves applying a base color followed by a clear coat for added protection and gloss. This method is preferred for achieving a show-quality finish on classic cars.
When choosing paint, consider the following factors:
- Finish Type: Decide whether you prefer a glossy, matte, or satin finish, as this will influence your paint choice.
- Durability: Assess how often the car will be used and the conditions it will face, ensuring you select a paint that matches your lifestyle.
- Color Options: Classic cars come in a myriad of colors. Ensure you find a paint brand that offers the exact shade you desire.
- Budget: Prices can vary significantly, so establish a budget that allows you to choose good-quality paint without overspending.
Ultimately, the right type of paint will not only bring your classic car to life but also protect it for years to come. Be sure to conduct thorough research and consider your individual needs before making a decision.
Step-by-Step Preparation for a Flawless Paint Job
Preparing your classic car for a paint job is crucial to achieving a stunning finish. Proper preparation ensures that the paint adheres correctly and lasts longer. Follow these steps to get your vehicle ready for its new look.
1. Choose the Right Location: Find a well-ventilated, dust-free area to work on your car. Ideally, the space should be indoors with controlled temperature to prevent contaminants from settling on your freshly painted surface.
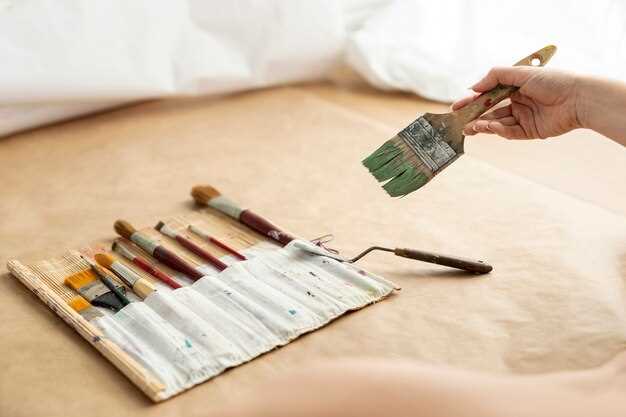
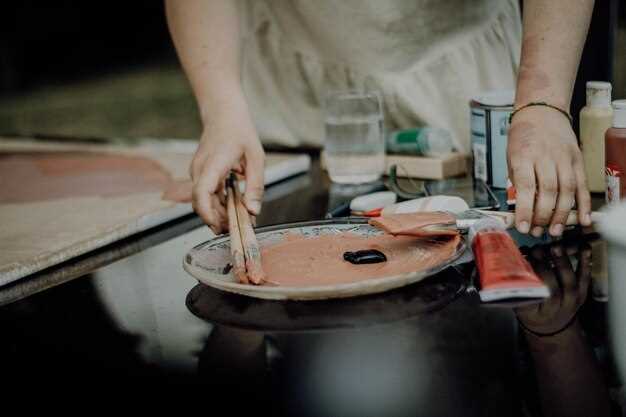
2. Gather Necessary Supplies: Collect all the materials you’ll need, including sandpaper, masking tape, primer, paint, clear coat, and cleaning solutions. Having everything ready will streamline the process.
3. Wash the Car Thoroughly: Start by washing your classic car with a mild detergent to remove dirt, grease, and old wax. Rinse well and allow it to dry completely before moving on to the next step.
4. Inspect for Damage: Examine the exterior for any dents, scratches, or rust. Address these issues by sanding down rough spots and using filler to smooth out imperfections. This step is essential for a flawless paint application.
5. Sand the Surface: Use fine-grit sandpaper to lightly sand the entire area that will be painted. This process helps to create a rough surface that the paint can grip, promoting better adhesion.
6. Mask Areas Not to be Painted: Use high-quality masking tape and paper to cover windows, tires, and any other parts of the car you do not want to paint. Ensure that the edges are sealed properly to prevent paint bleed.
7. Clean Again: After sanding and masking, clean the car again with a solvent such as lacquer thinner or a dedicated car prep solution. This will remove any dust and oils, ensuring a clean surface for painting.
8. Apply Primer: Once the surface is clean and dry, apply a coat of primer. This not only improves paint adhesion but also provides a uniform base for the color. Allow the primer to dry as per the manufacturer’s instructions.
9. Sand the Primer: Lightly sand the primer once it is dry to create a smooth surface for the topcoat. Use a fine-grit sandpaper and be cautious not to sand too much, which can expose the base metal.
10. Final Cleaning: Wipe down the car with a clean, lint-free cloth to remove any sanding dust before starting to paint. This final cleaning step is vital for achieving a perfect finish.
By meticulously following these preparation steps, you set the foundation for a stunning paint job on your classic car. Each stage is essential for ensuring that the final result is not only beautiful but also durable.
Techniques for Achieving a Professional Finish at Home
Achieving a professional-looking paint job on your classic car through DIY methods requires careful planning and execution. Here are some techniques to consider for a stunning final result.
1. Surface Preparation: Begin with meticulous surface preparation. Clean the car thoroughly to remove all dirt and grease. Sand down any rust or old paint using a combination of coarse and fine sandpaper. This step ensures proper adhesion of the paint, giving you a flawless base.
2. Using Quality Materials: Invest in high-quality DIY paint and primer. Acrylic urethane paints provide excellent coverage and durability. Choose a primer that works well with your selected paint type, as this will impact the final sheen and finish.
3. Proper Masking: Use high-quality masking tape and paper to cover areas where you do not want paint. This includes windows, trim, and rubber seals. A precise masking job will prevent overspray and help create clean lines, giving your car a professional appearance.
4. Technique of Application: Whether you choose spray cans or a paint gun, the technique of application is critical. Hold the spray gun or can at an even distance from the surface, usually around 6-12 inches. Move in smooth, overlapping strokes to avoid drips and achieve an even finish.
5. Multiple Coats: Apply several thin coats rather than one thick coat. Thin layers dry more evenly and help to build up a depth of color, reducing the chances of runs and sags. Allow adequate drying time between coats, following the manufacturer’s recommendations.
6. Wet Sanding and Polishing: After the final coat has dried for a few days, wet sanding can improve the smoothness of the finish. Use a fine grit sandpaper with soapy water, and then polish the surface to enhance shine. This step mimics the glossiness of a factory finish.
7. Final Inspection: Inspect the paint job carefully under various lighting conditions. Look for imperfections such as dust nibs or uneven spots. Touch these up or polish them out to ensure every angle of your classic car looks impeccable.
By combining these techniques, you can achieve an impressive DIY paint job that showcases your classic car’s beauty and style.


