How to Replace Rubber Seals on Classics

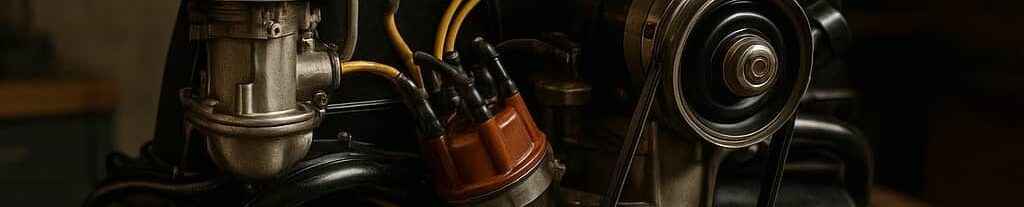
When it comes to maintaining classic cars, few tasks are as crucial as replacing rubber seals. These components play a vital role in ensuring that your vehicle remains watertight and airtight while enhancing its overall performance. Over time, rubber seals can degrade due to exposure to the elements, leading to leaks and potential damage to your car’s interior and components.
Replacement of worn or damaged rubber seals not only restores functionality but also contributes to the aesthetic appeal of your classic vehicle. A meticulous approach to this task can prevent costly repairs down the road. In this guide, we will explore the types of rubber seals commonly found in classic cars, the tools required for replacement, and step-by-step instructions to ensure a seamless process.
Understanding the specific needs of your classic car regarding rubber seals is essential. From windows to doors and trunks, each seal serves a unique purpose and must be installed correctly to maintain the car’s integrity. Let’s dive into the world of rubber seal replacement and learn how to keep your classic car in optimal condition for years to come.
Identifying and Sourcing the Right Rubber Seals for Your Classic Car
When it comes to maintaining a classic car, ensuring that the rubber seals are in good condition is crucial for preventing leaks and preserving the vehicle’s integrity. Identifying the correct rubber seals for replacement involves several key steps.
Firstly, it is essential to determine the specific part numbers or specifications related to your vehicle’s model. Consult the owner’s manual or service documents that outline the types and sizes of seals originally utilized. This documentation often includes detailed diagrams that can be invaluable when sourcing replacements.
Next, inspect the existing seals for any damage that may indicate the proper type you need. Take note of any unique features such as grooves, shapes, or mounting styles. Accurate measurements of the old seals’ dimensions–length, width, and thickness–are critical for ensuring a precise fit with the replacement products.
After assessing the requirements, focus on sourcing the rubber seals. There are various avenues available. Classic car parts suppliers, both online and local, often offer a selection of rubber seals tailored for specific models. Websites specializing in classic car restoration might have the exact replacements you need. Additionally, consider reaching out to specialty shops that focus on vintage vehicles, as they may stock hard-to-find items.
Another practical option is to explore forums and online communities of classic car enthusiasts. Members often share valuable insights regarding reputable sources and can provide recommendations based on personal experiences, leading you to trusted suppliers.
Furthermore, some manufacturers produce aftermarket rubber seals that may not only fit well but also offer enhanced durability compared to the original parts. Research customer reviews and product specifications to make informed decisions regarding quality and compatibility.
Once you have sourced the correct rubber seals, double-check that they align perfectly with your classic car’s specifications before installation. Proper fitment will ensure that your vehicle remains watertight and protected from the elements.
In summary, identifying and sourcing rubber seals for classic cars is a process that requires careful measurement, research, and attention to detail. With the right approach, you can find high-quality replacements that keep your vehicle in optimal condition.
Step-by-Step Process for Removing and Installing Rubber Seals
Replacing rubber seals is essential for maintaining the integrity and appearance of classic cars. Follow this step-by-step guide to effectively remove and install rubber seals.
Step 1: Gather Tools and Materials
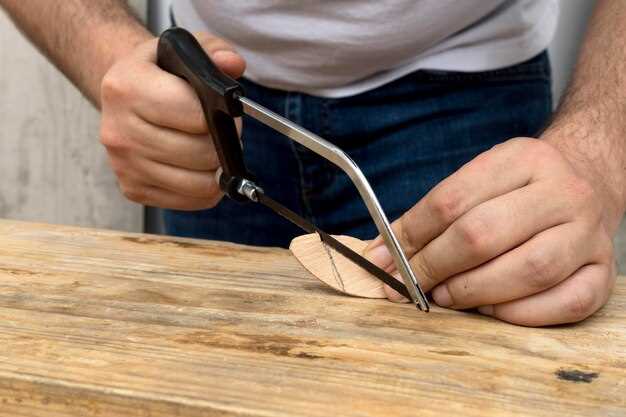
Before starting, ensure you have the necessary tools: a flathead screwdriver, pliers, a utility knife, cleaning solution, cloths, and the new rubber seals. Proper preparation will streamline the process.
Step 2: Remove Old Rubber Seals
Begin by carefully prying the old seals away from the body of the car. Use a flathead screwdriver to lift one end of the seal gently. Once you have a grip, pull the seal away slowly to avoid damaging the surrounding areas. If the seal is stubborn, use pliers to assist in the removal.
Step 3: Clean the Surfaces
After removing the old seals, thoroughly clean the surfaces where the new seals will be installed. Use a cleaning solution and cloths to remove any dirt, debris, or adhesive residue. This step is crucial for ensuring proper adhesion of the new seals.
Step 4: Prepare New Rubber Seals
Check the new rubber seals for any defects and ensure they are the correct size and shape for your vehicle. If necessary, trim the seals with a utility knife for a perfect fit, taking care to follow any specific contours of the vehicle.
Step 5: Install New Rubber Seals
Starting at one end, press the new rubber seal into the groove where the old seal was located. Work it into place gradually, ensuring that it fits snugly without stretching or twisting. Use your fingers or a rubber mallet to help secure the seal in position.
Step 6: Check for Proper Installation
Once the seal is in place, inspect it for any gaps or misalignment. Press down firmly along the entire length to ensure it is seated correctly. Adjust as necessary to achieve a perfect fit.
Step 7: Final Inspection
After installation, conduct a final inspection to ensure that the new rubber seals are secure and in good condition. Make sure there are no loose areas that may lead to water leaks or air infiltration.
Following these steps will help you successfully replace rubber seals on your classic car, enhancing its performance and aesthetic appeal.
Maintenance Tips to Extend the Lifespan of New Rubber Seals
Proper care and regular maintenance of new rubber seals are essential for maximizing their durability and effectiveness in classic cars. Follow these tips to ensure your replacement seals stand the test of time.
- Regular Inspection: Frequently check seals for any signs of wear, cracking, or distortion. Early detection can prevent larger issues.
- Cleanliness: Keep seals clean by wiping them with a soft cloth and mild soap. Avoid harsh chemicals that can degrade rubber.
- Lubrication: Use appropriate lubricants specifically designed for rubber to maintain flexibility. Avoid petroleum-based products that can cause deterioration.
- Avoid UV Exposure: Protect seals from direct sunlight. Use car covers or park in shaded areas to minimize UV damage.
- Temperature Control: Store classic cars in a climate-controlled environment to prevent extreme temperature fluctuations that can affect seal integrity.
- Professional Evaluation: Consider periodic checks by a professional mechanic who can assess the condition of seals and replace them if necessary.
By adhering to these maintenance tips, you can extend the lifespan of your new rubber seals, ensuring optimal performance and protection for your classic car.


